Canon Selphy 1500 Printer

I was recently gifted the Canon Selphy 1500 printer.
The printer is fairly compact in size at 18x13x5.5 cm (7x5x2.1 in) but you also have to allow for the detachable paper insert tray and the exit of the paper, so this takes the actual footprint of the printer to about 40x13x5.5cm (15x5x2.1 in)
The printer produces 15x10 cm (6x4 in) postcard size prints using dye sublimation technology at 300 DPI and according to some sources, the prints stored in the right condition will last 100 years.
Although the printer doesn't come supplied with paper or ink cartridges, these have to be bought separately.

The printer can run off either mains power or a rechargeable battery which isn't included and cost roughly double the price of the printer.
Setting up is pretty easy and straightforward, as everything can be done via QR codes. There is a code to download the app and one to set up the WiFi.
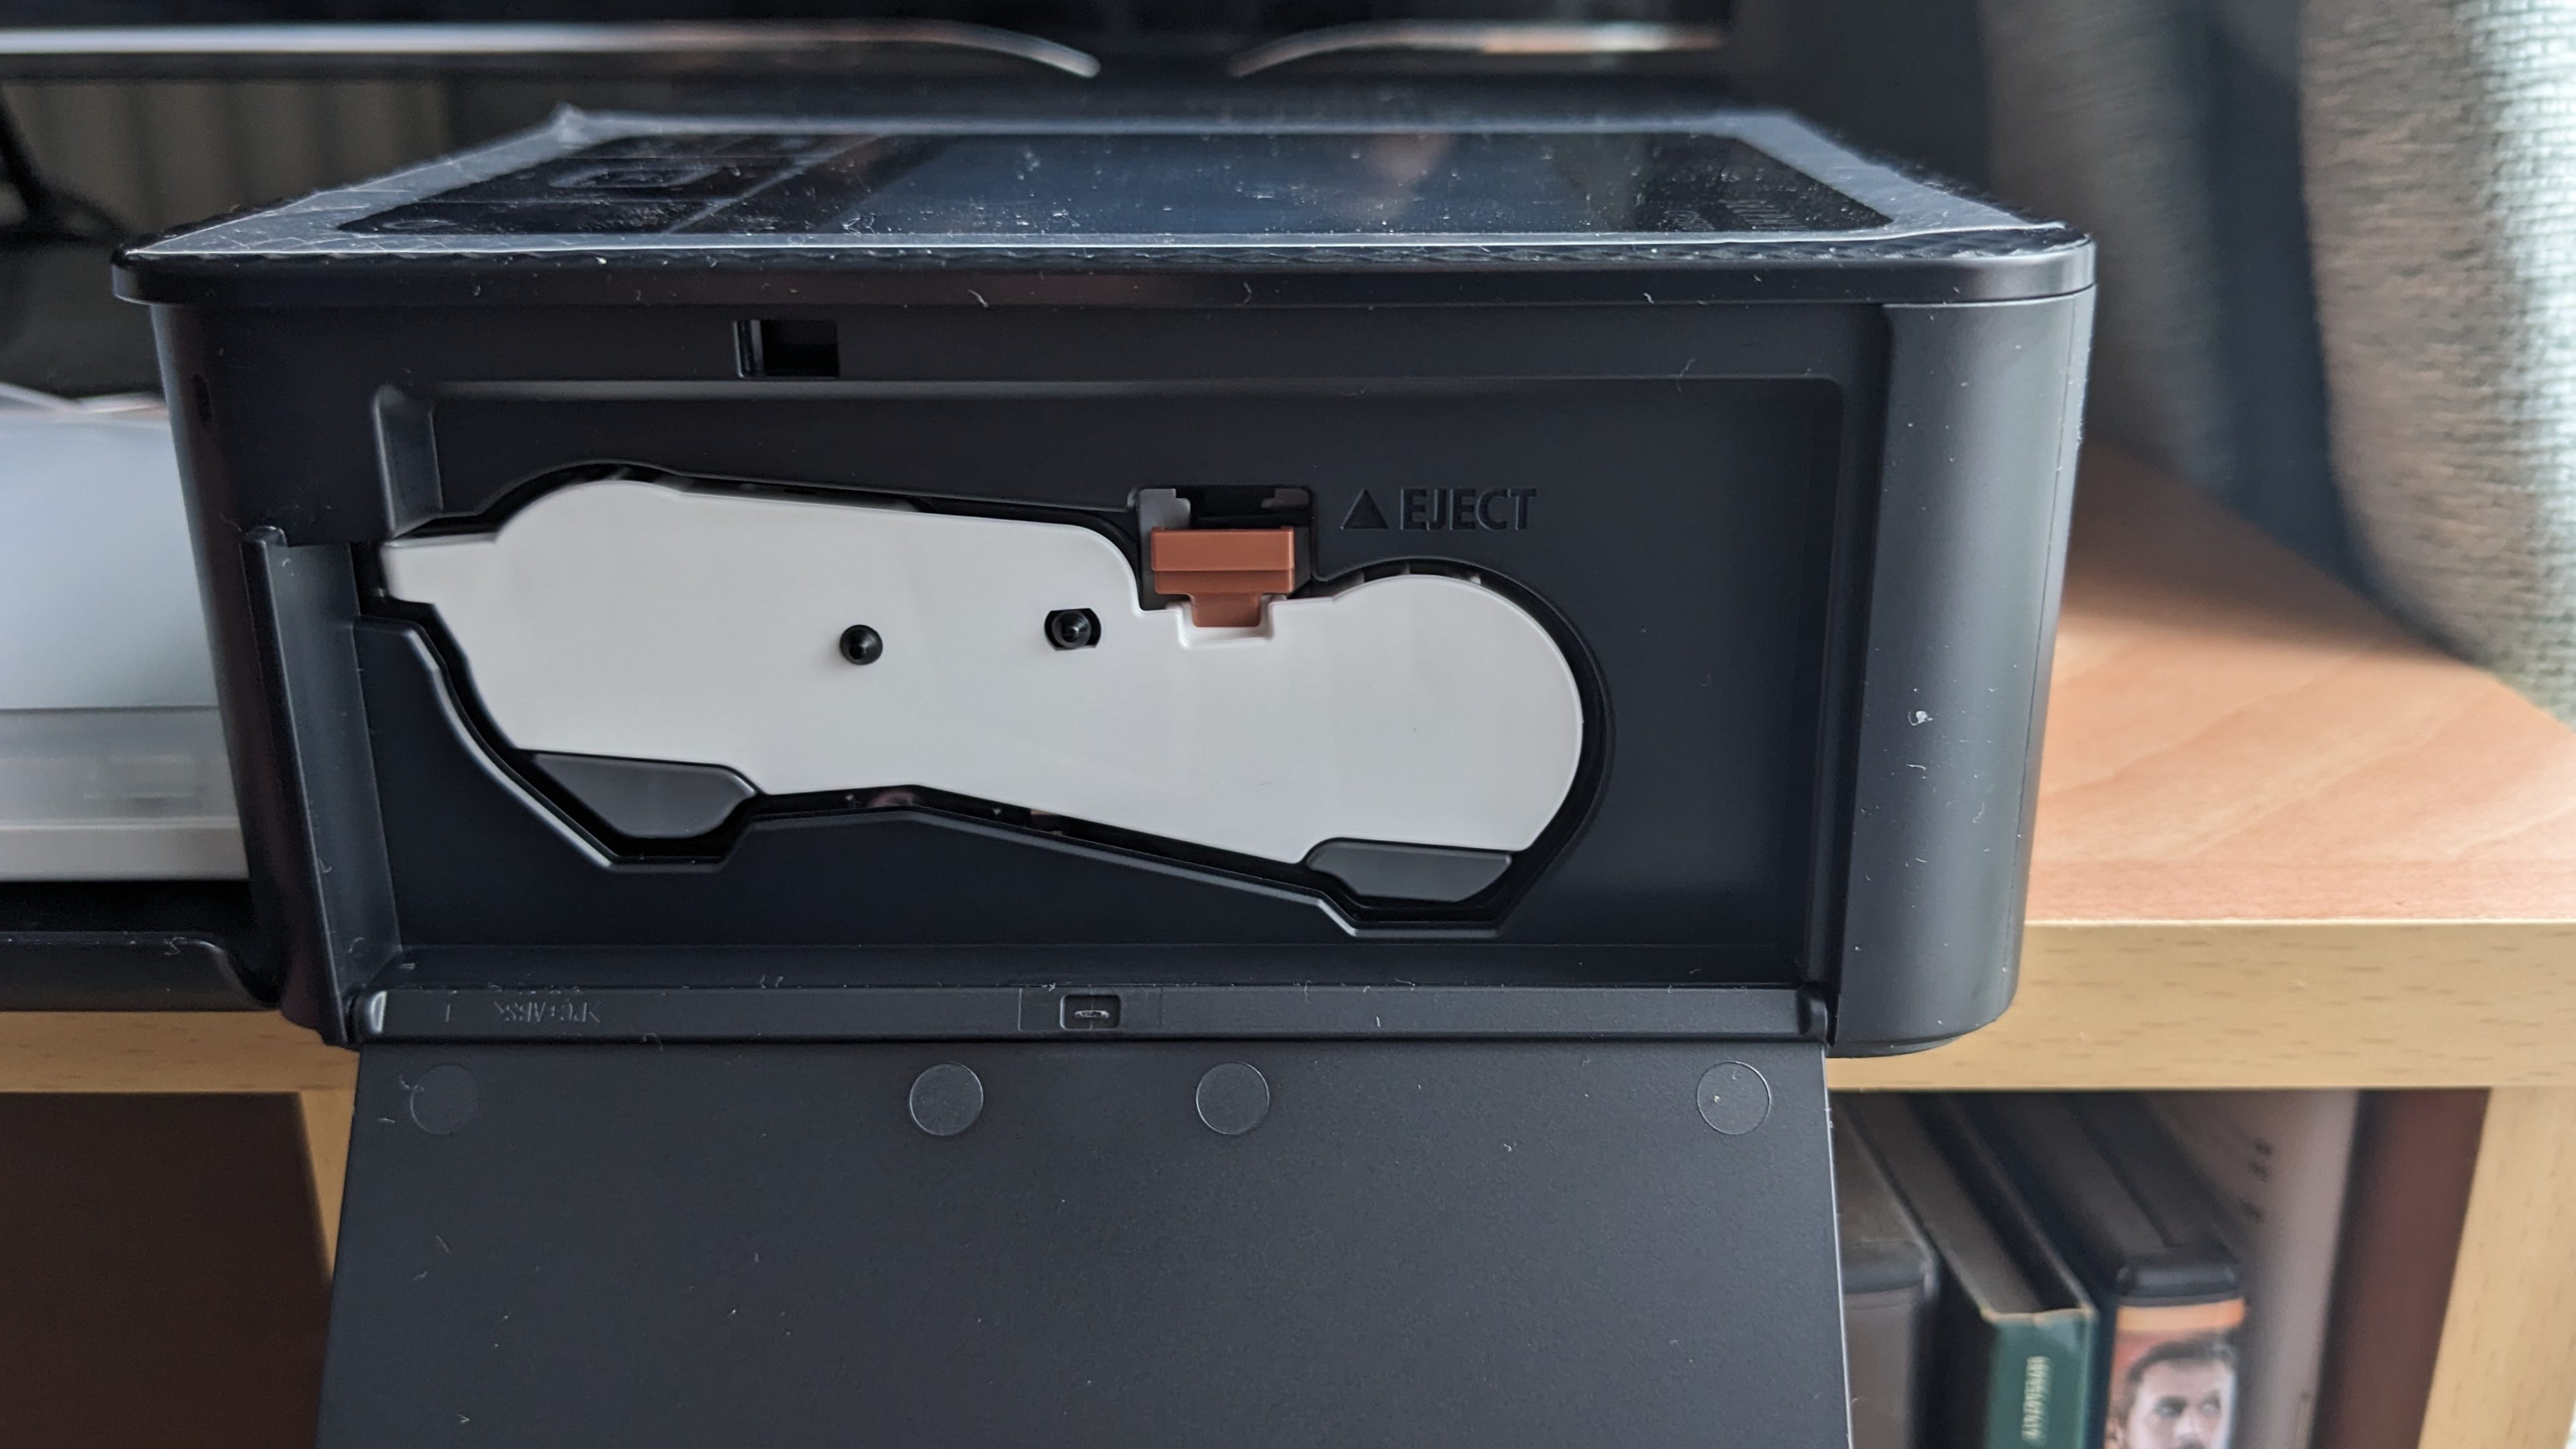
The ink cartridge is inserted via a panel on the right side of the machine.
The paper sits in it own paper tray and clips into the front of the printer. When not in use the tray has a lid which closes to stop dirt & dust getting on to the paper.
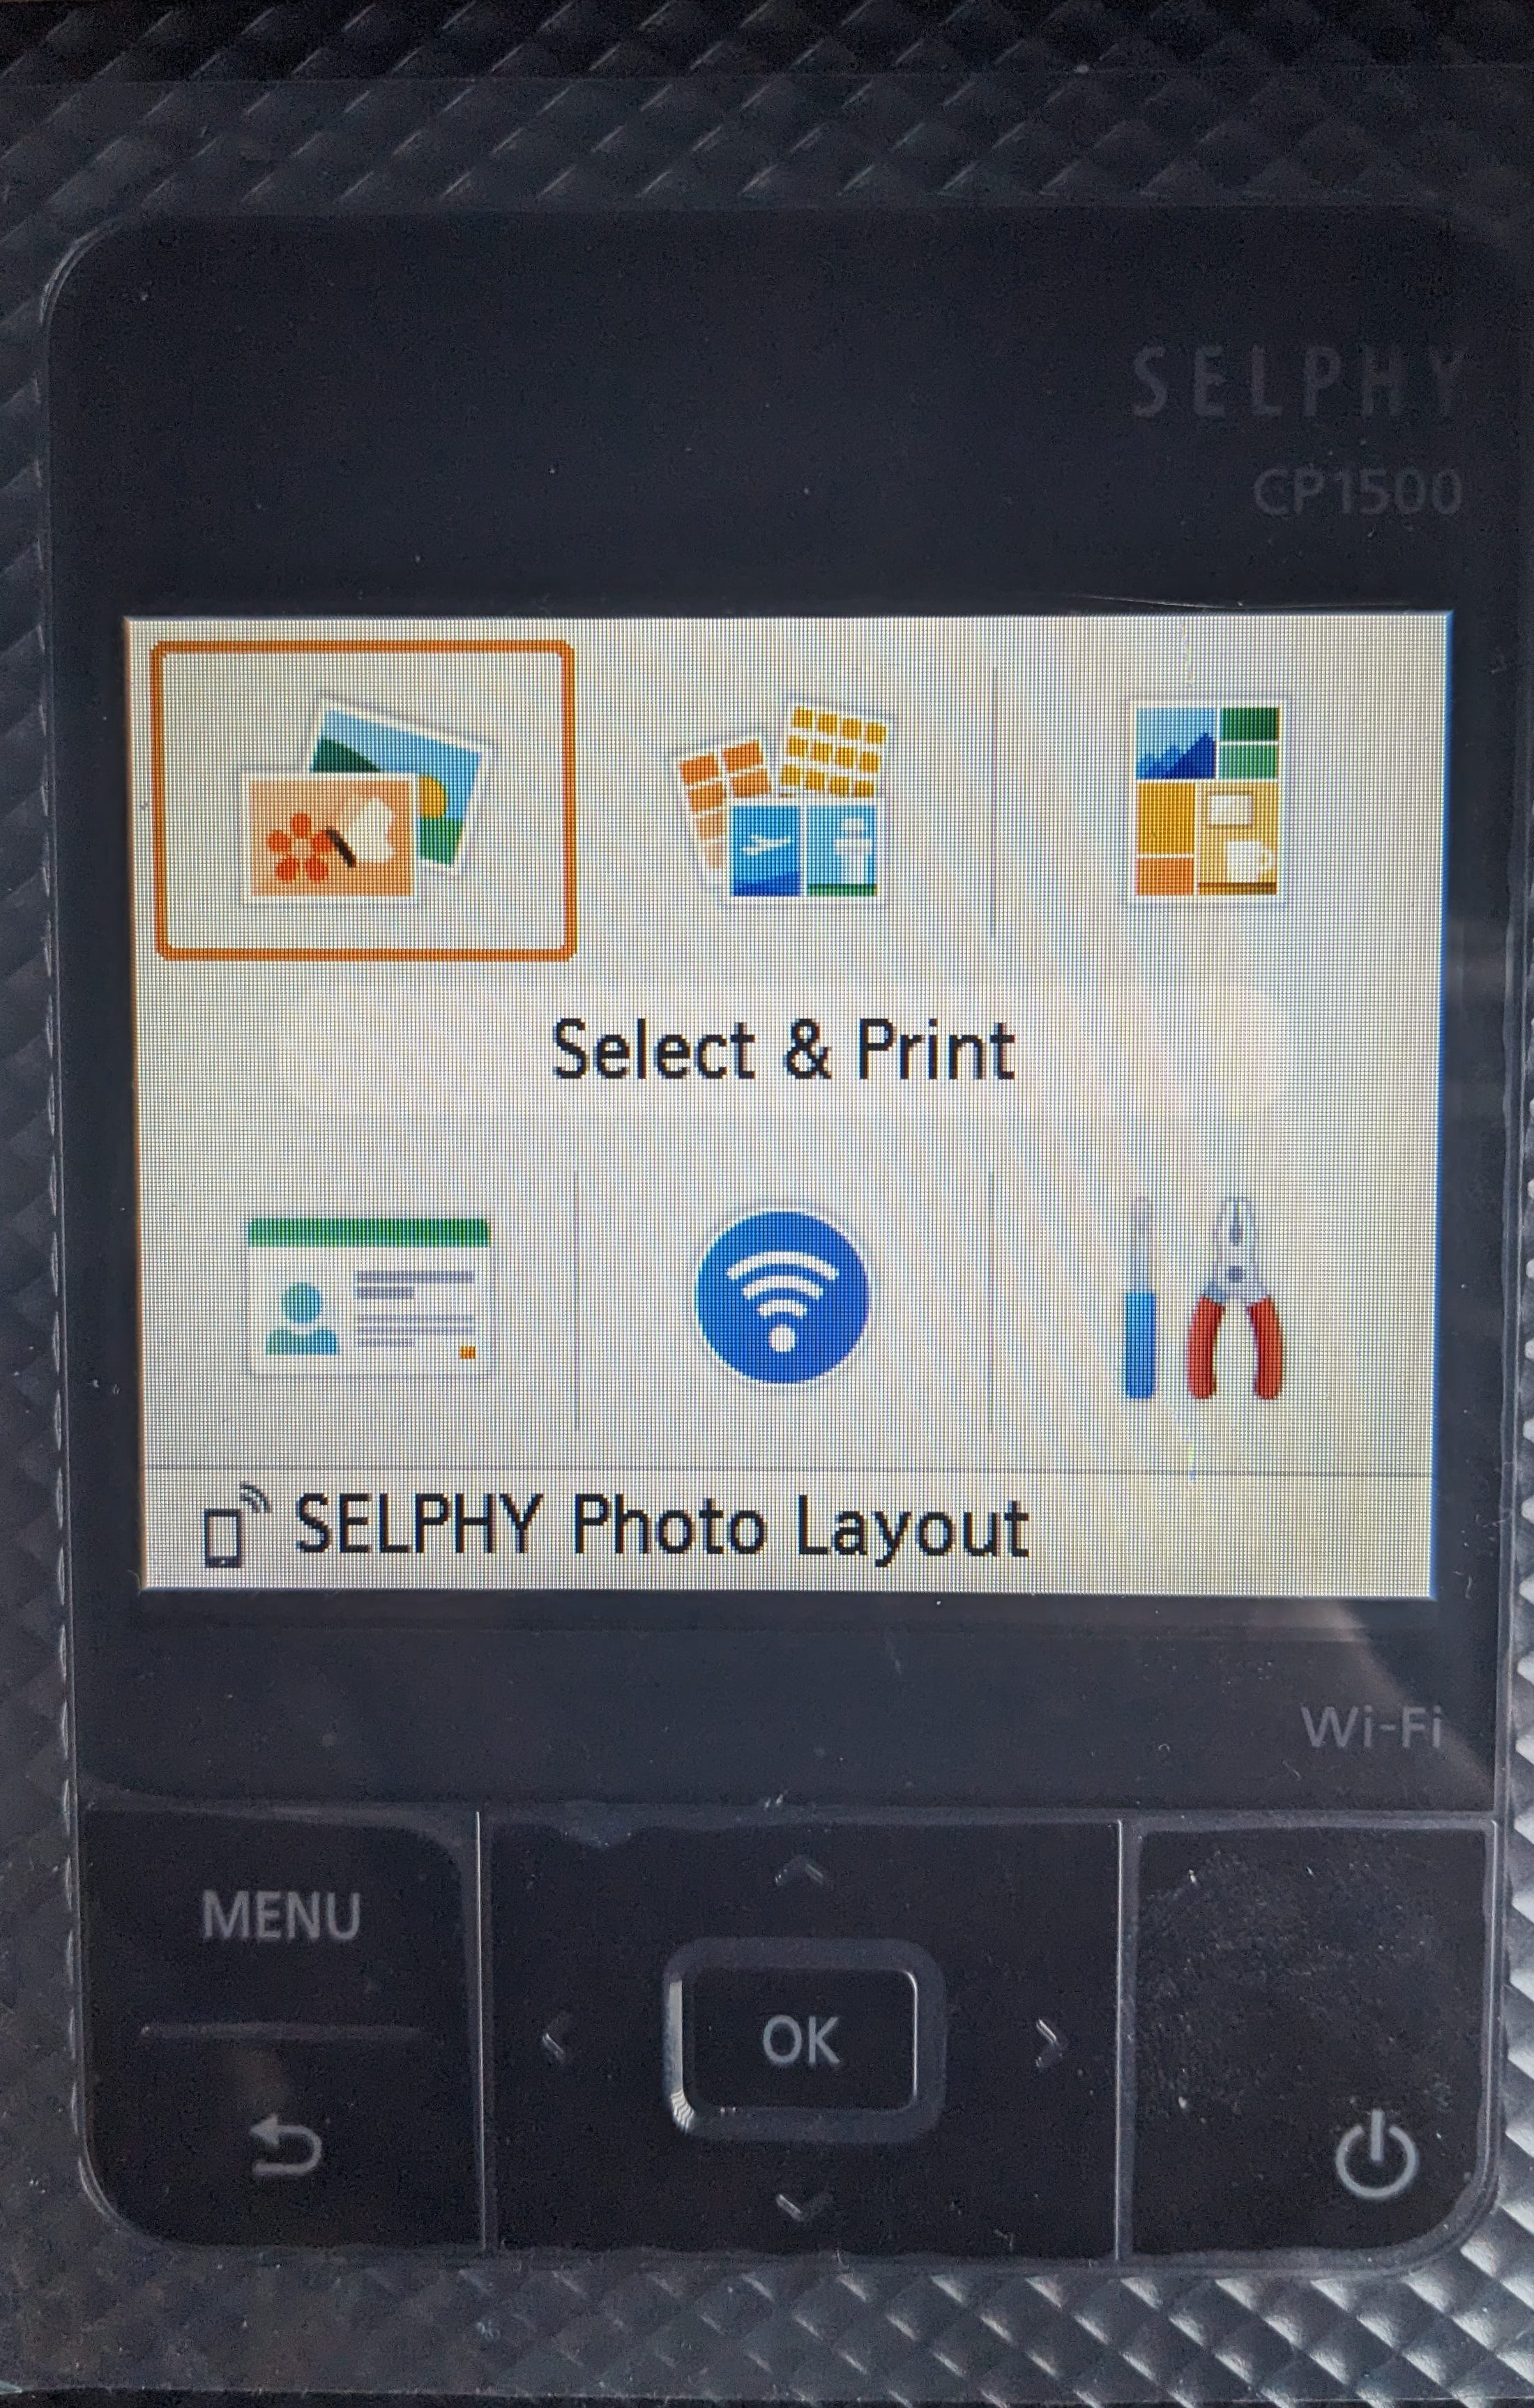
On the top of the machine is a 8.9 cm (3.5 in) LCD screen unfortunately it's not a touchscreen so you have to use the 4 way buttons to navigate through the setting on the screen. This screen is used for the SD card which can be inserted via the front panel near the paper tray.
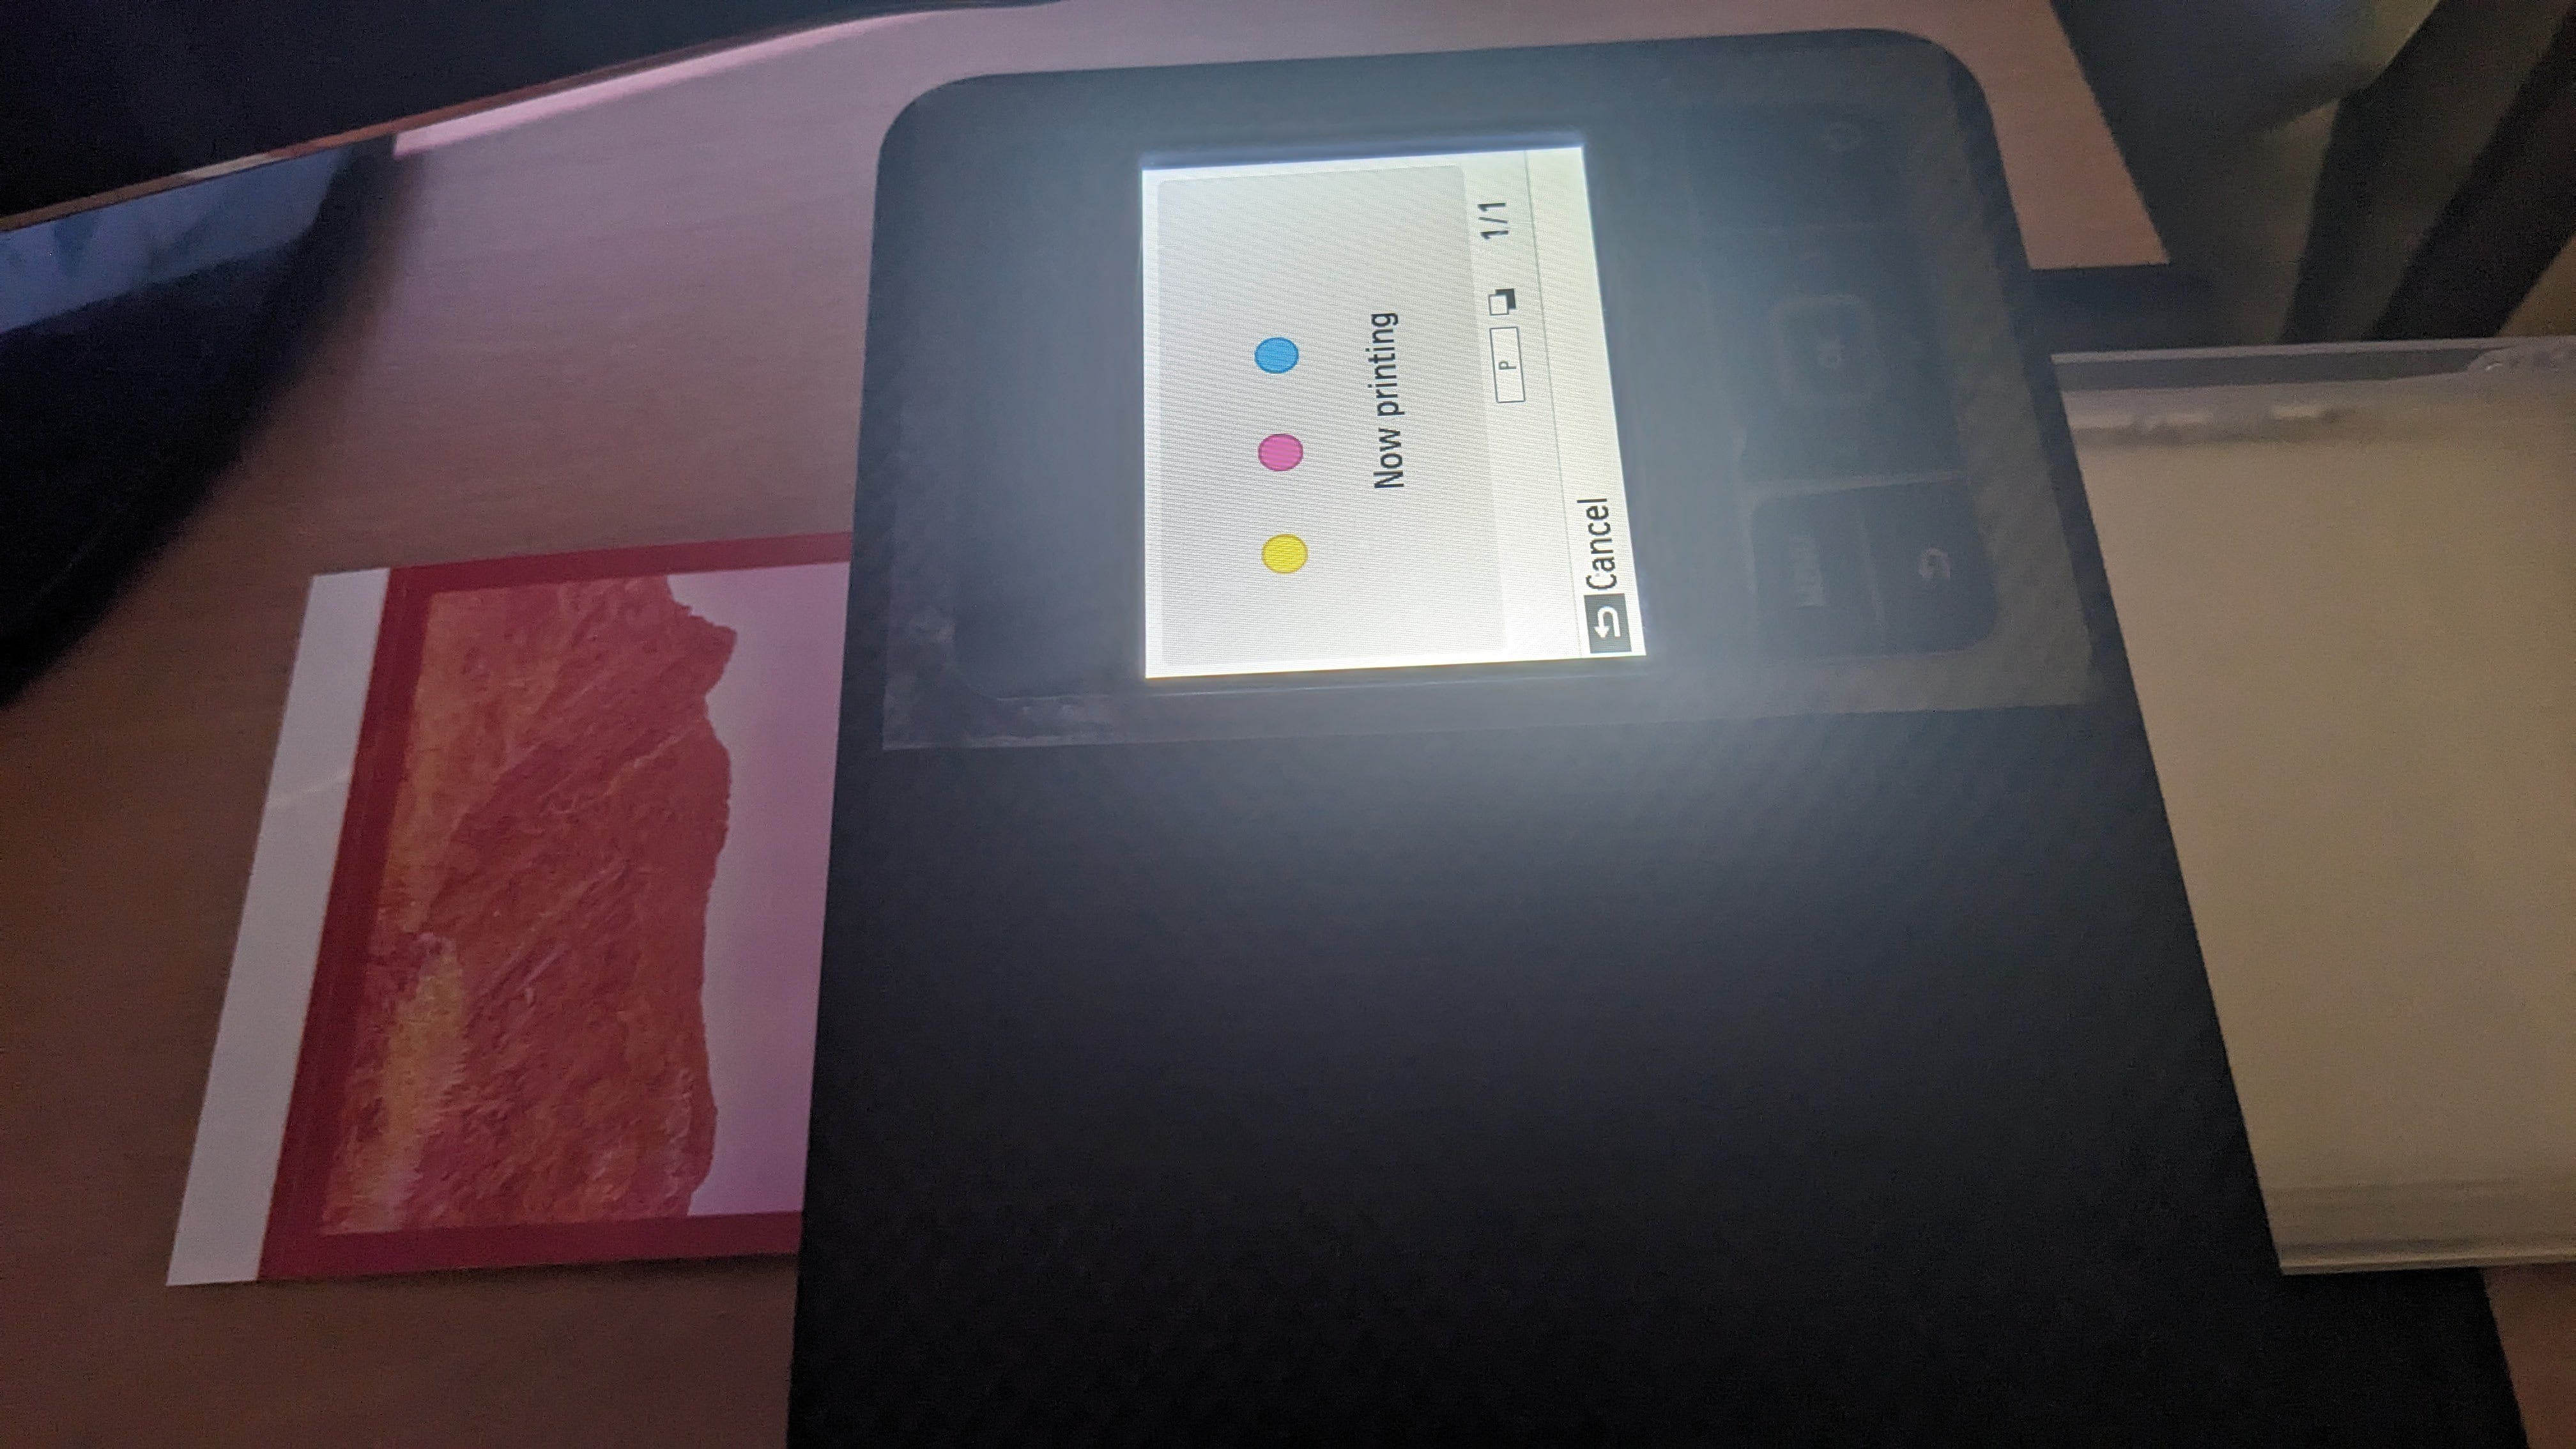
As you can see from the image above the paper is actually bigger than the 15x10 cm (6x4 in) this is so the paper can be transported through the printer. These white pieces have perforations so the extra can be snapped off.
Around 90% of my work flow is via apps on either a phone or tablet, my main editing app is Snapseed and the printer has its own app for making prints.
The app has a few options for printing the image, the most simple one is just a straight print using the easy option.

The collage option gives you a lot more options like multi images on a paper (maximum 20), adding borders and rounding the corners, adding a colour to the background, adding text to the image and also a QR code.

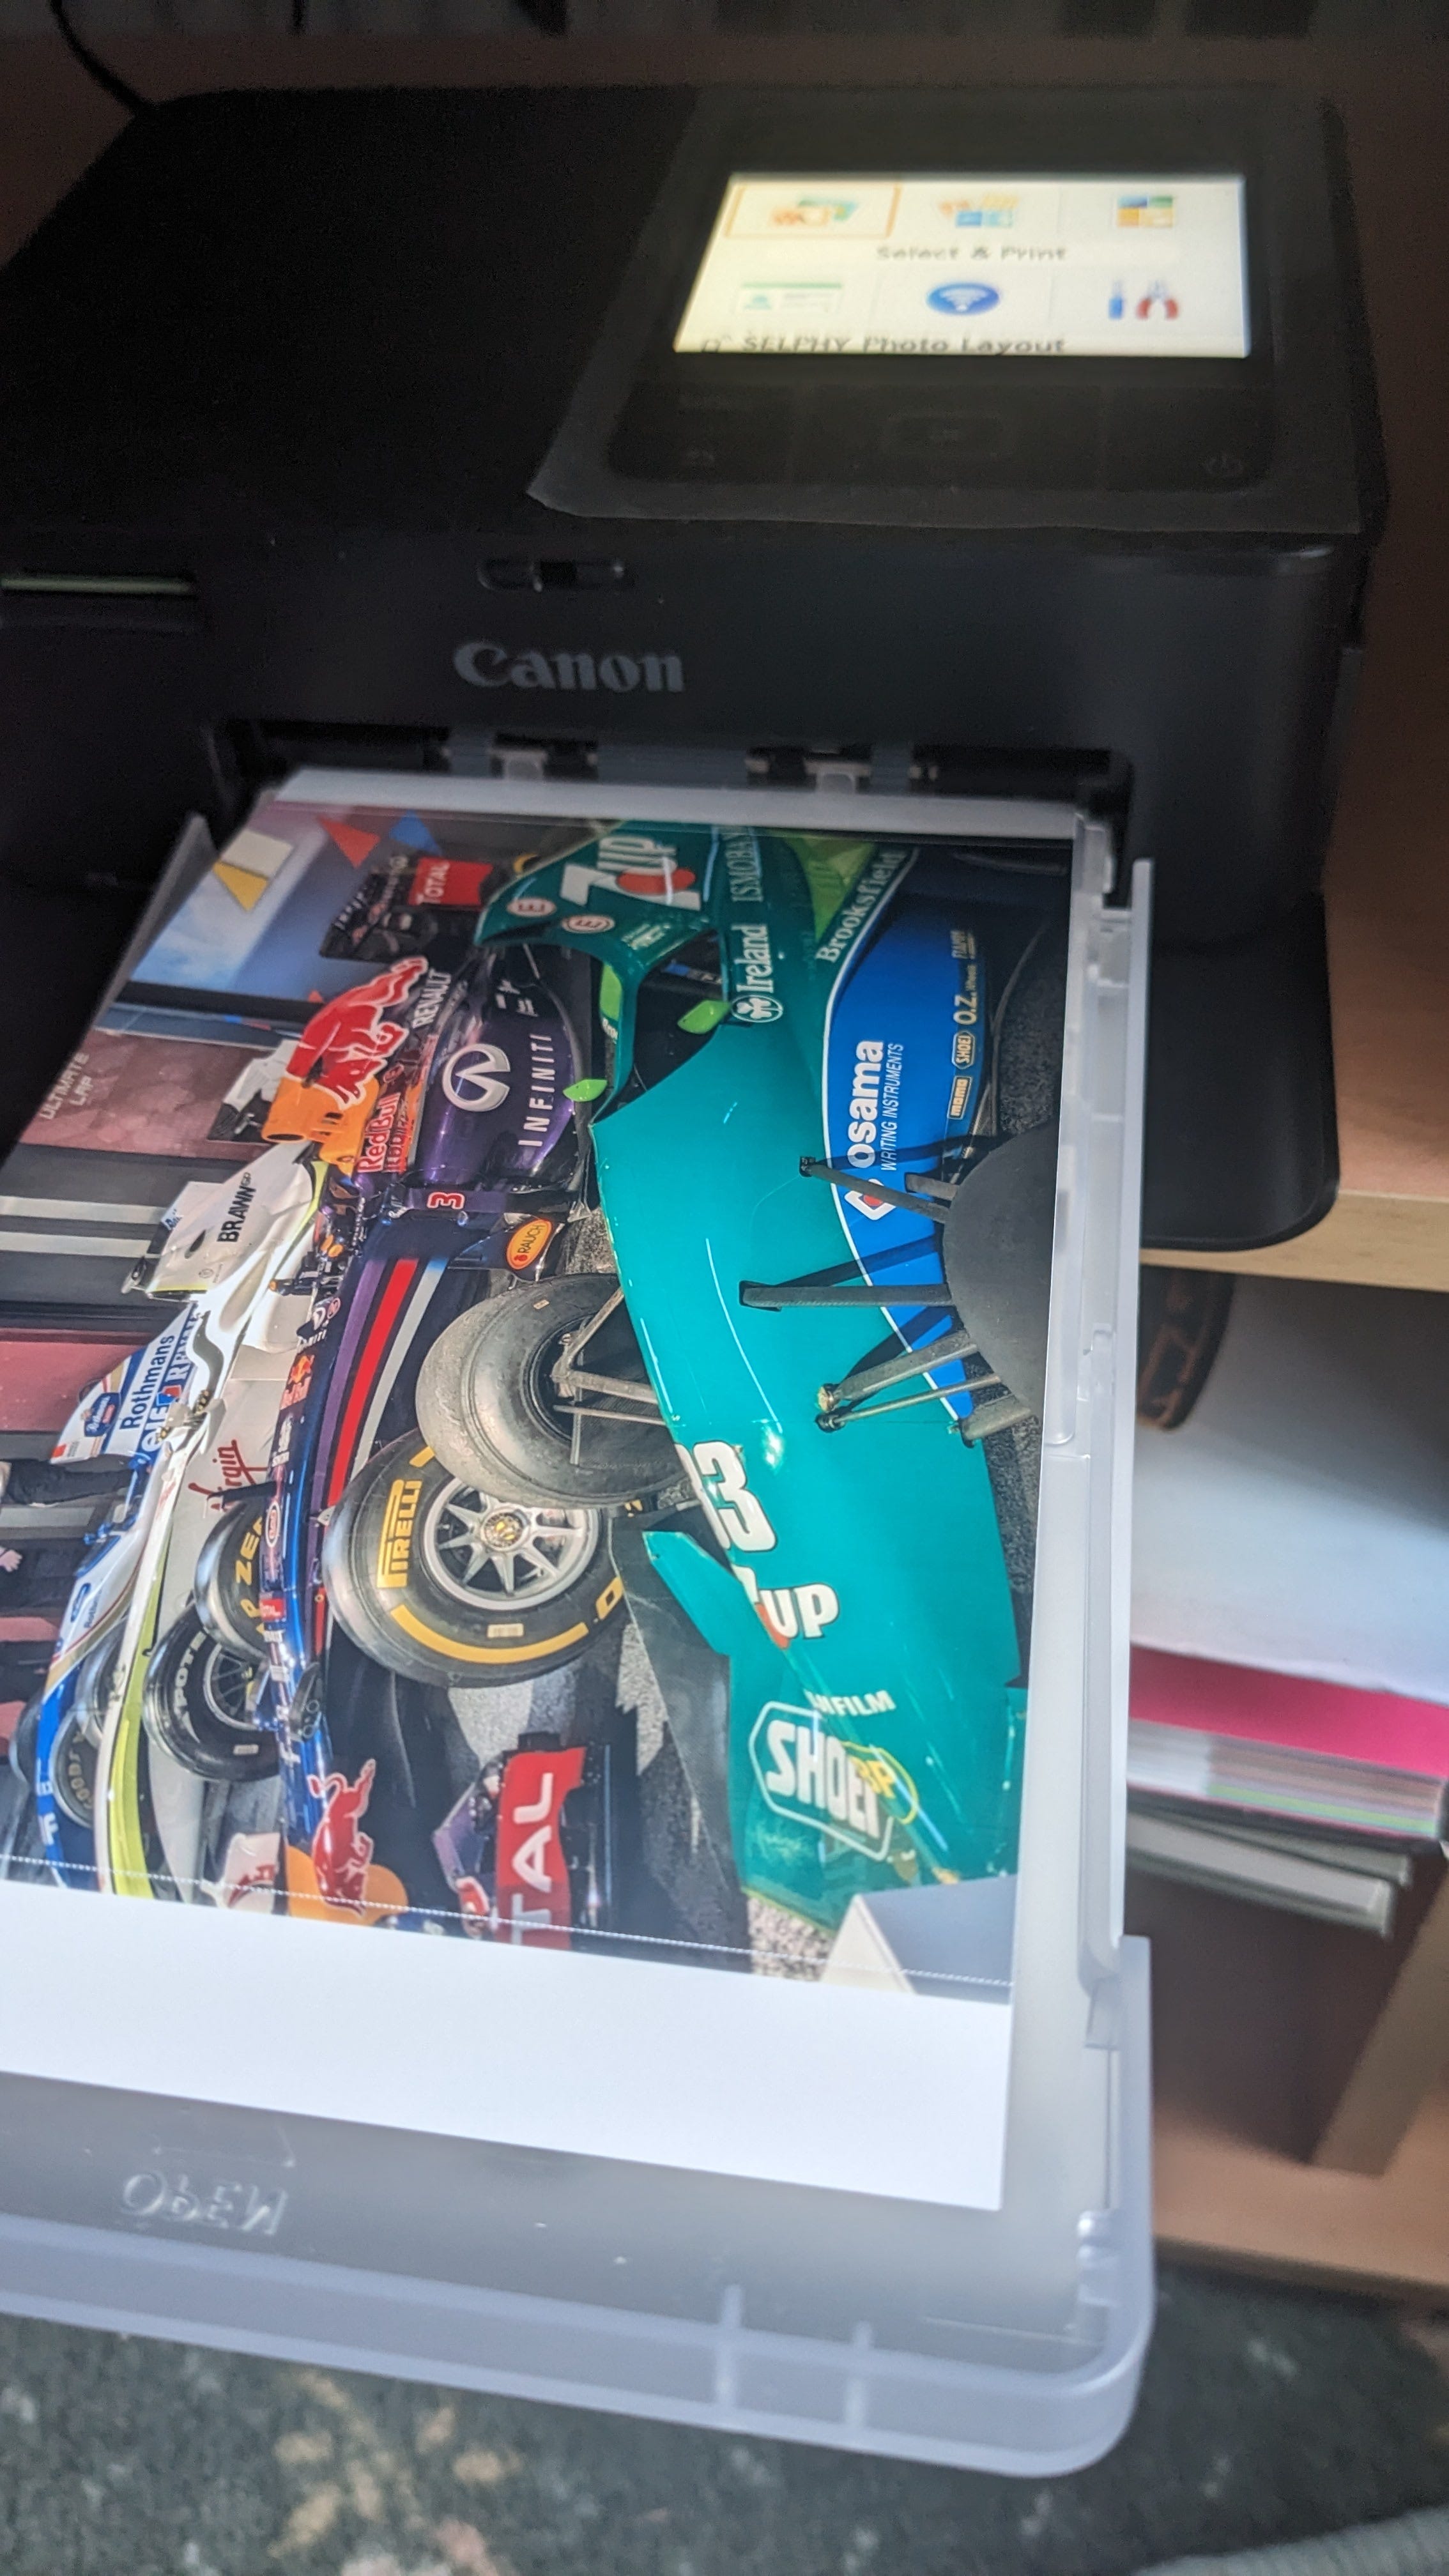
Once you a happy with the layout, you just hit print and the printer starts to load and print the image. It takes between 40 to 60 seconds to print depending on the coverage.
The paper passes through the machine and pops out the back via a slot and then takes it back through, the paper passes through 4 times to lay down yellow, magenta and cyan followed by a clear coat to protect the image and it is dry as soon as the printing is finished.
The printer can print either full gloss, semi gloss or satin, I have tried all the different ones and there is a small difference in them, personally I prefer the semi gloss images.
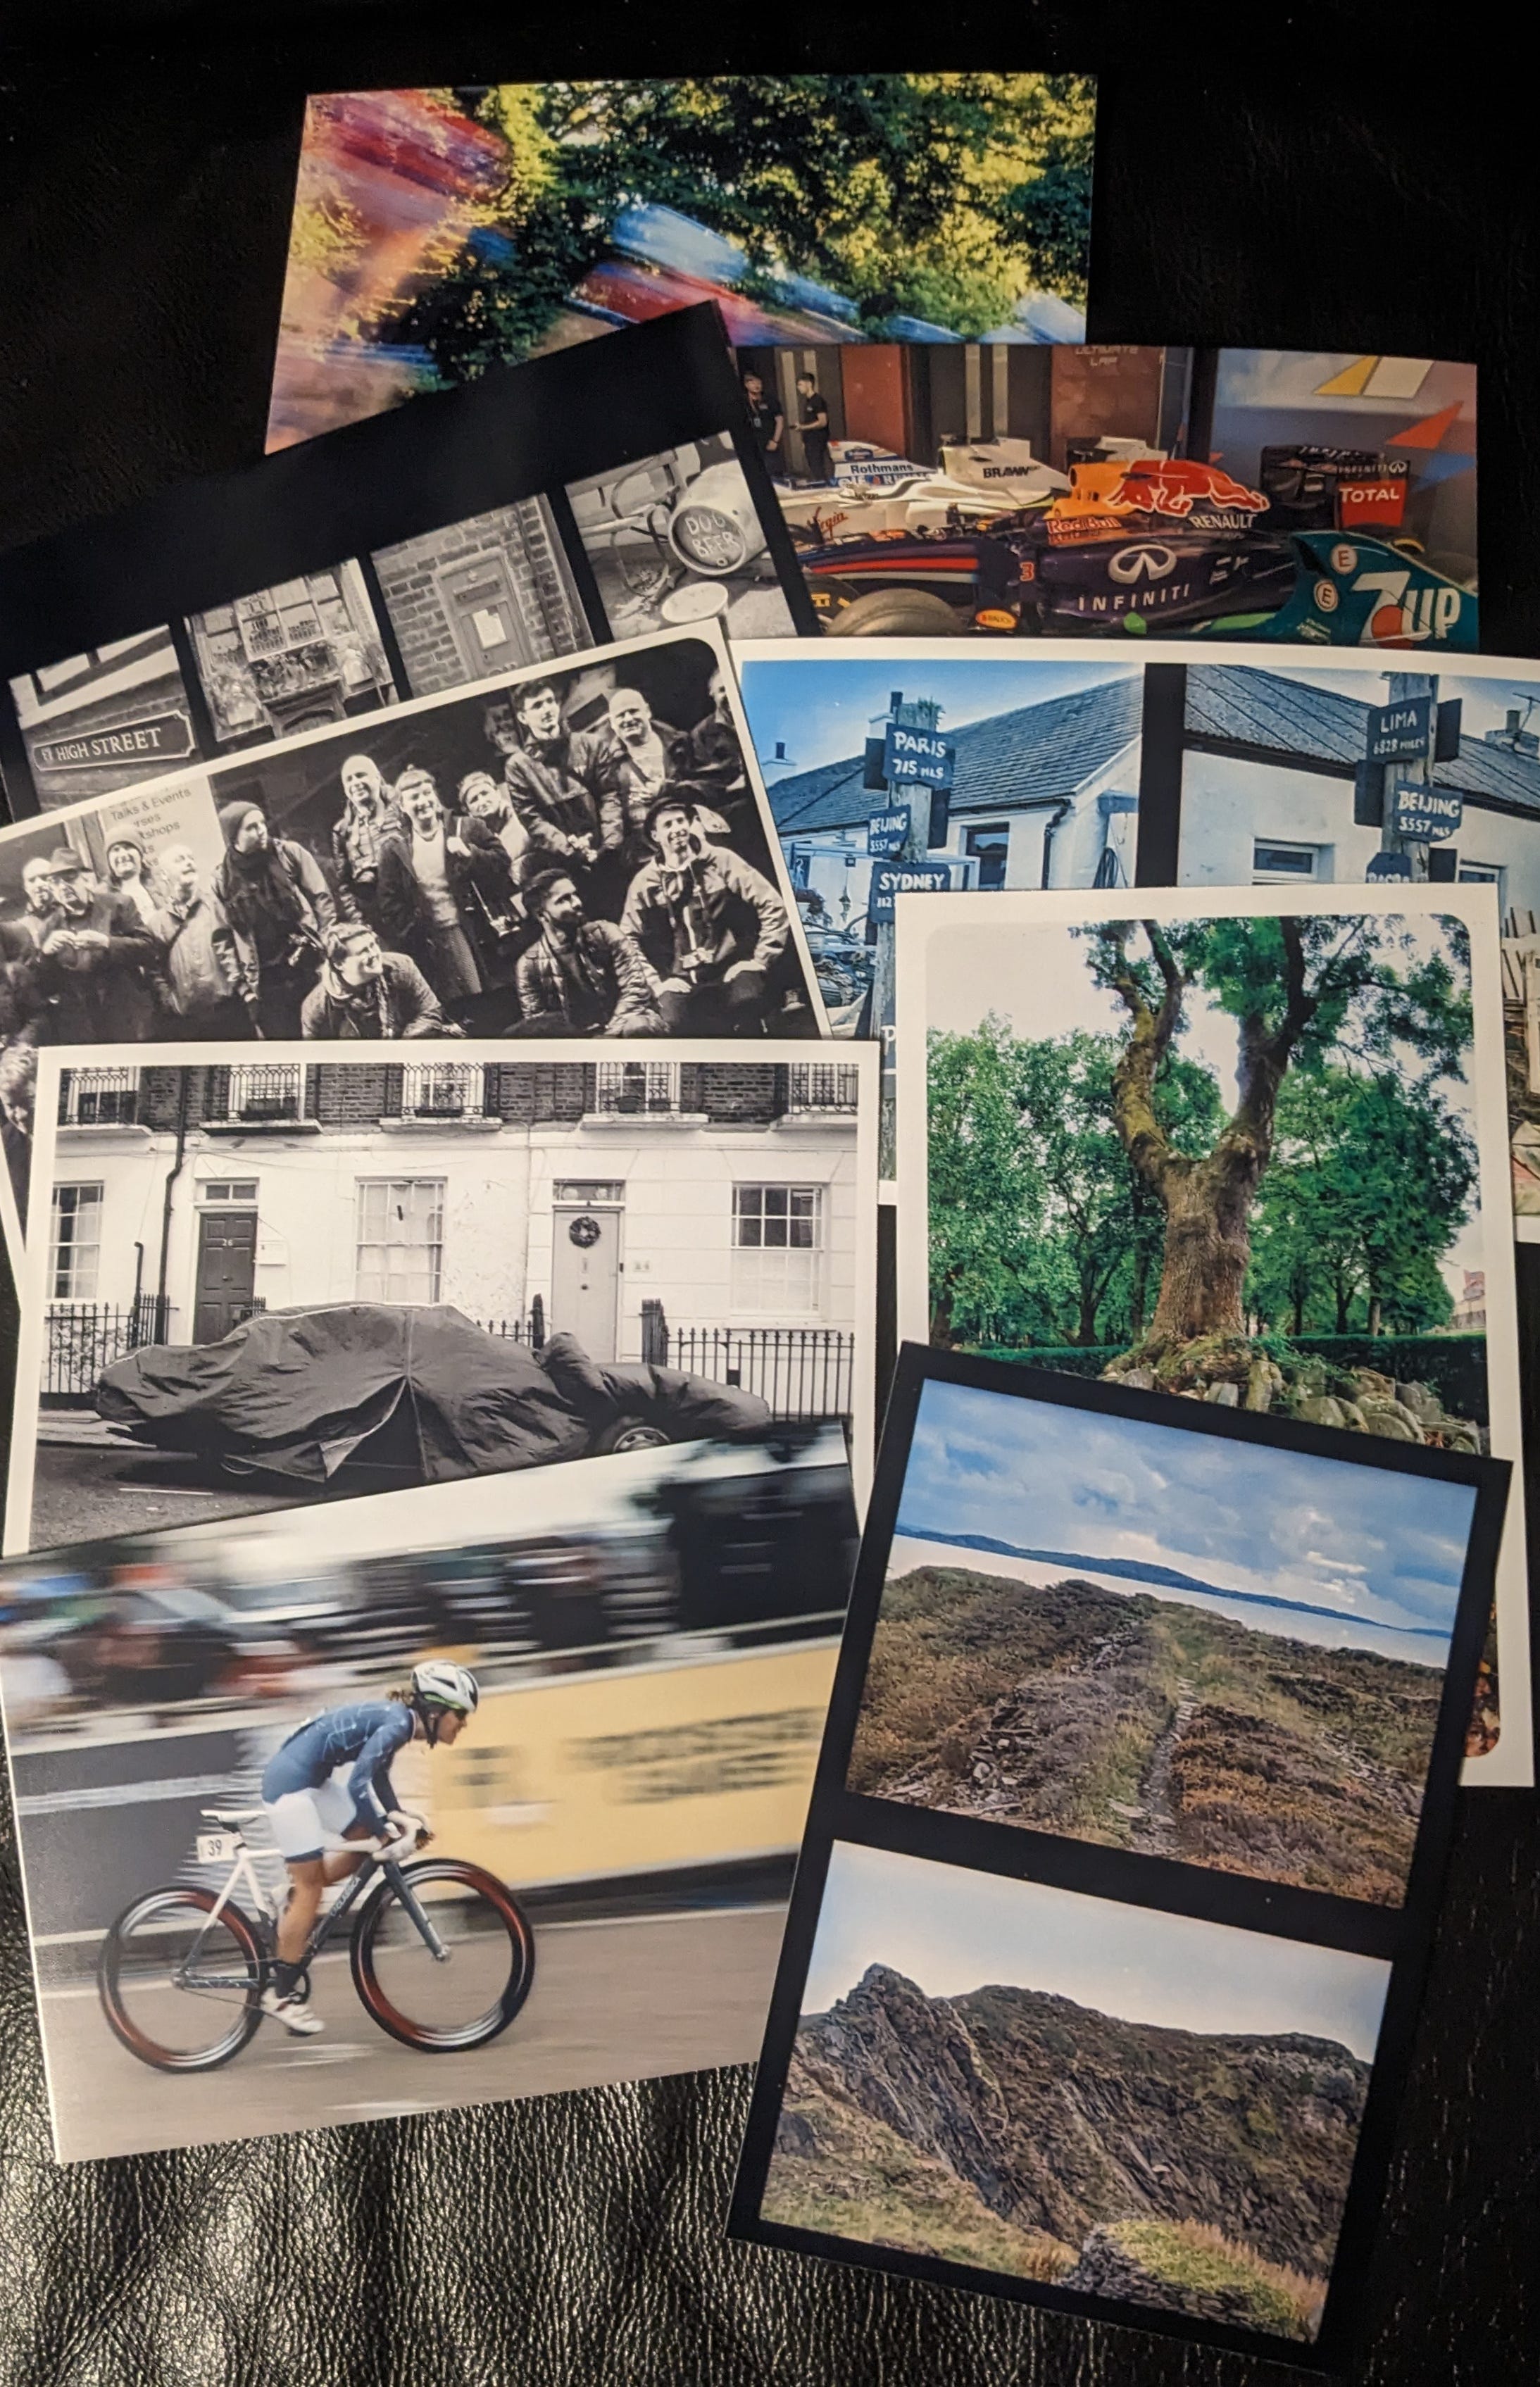
So far I have printed about 15-20 images, all from different cameras, digital, film, half-frame, mobile phone and in full colour and Black & White.
I have been happy with the prints and especially with films that have a bigger grain structure like Kentmere 400.
Other than the cost of the printer, you are probably wondering the cost of the ink and paper. The cheapest way to buy is buying the 108 print pack, this comes with 108 papers and 2 ink cartridges. Each cartridge will print 54 images, no more, no less.
This is the smart thing about the printer, apparently you never run out of either media and have one or the other left. Apparently the ink never dries out so you don't have to worry about how long it will last.
A 108 pack costs around £39.99 so the breakdown for each print is around 37p.
One thing I will say is the the paper probably isn't as thick as prints you may get back from a lab, it's a long time since I have had lab prints so I don't really know, I would say that the paper is around 160-200gsm.
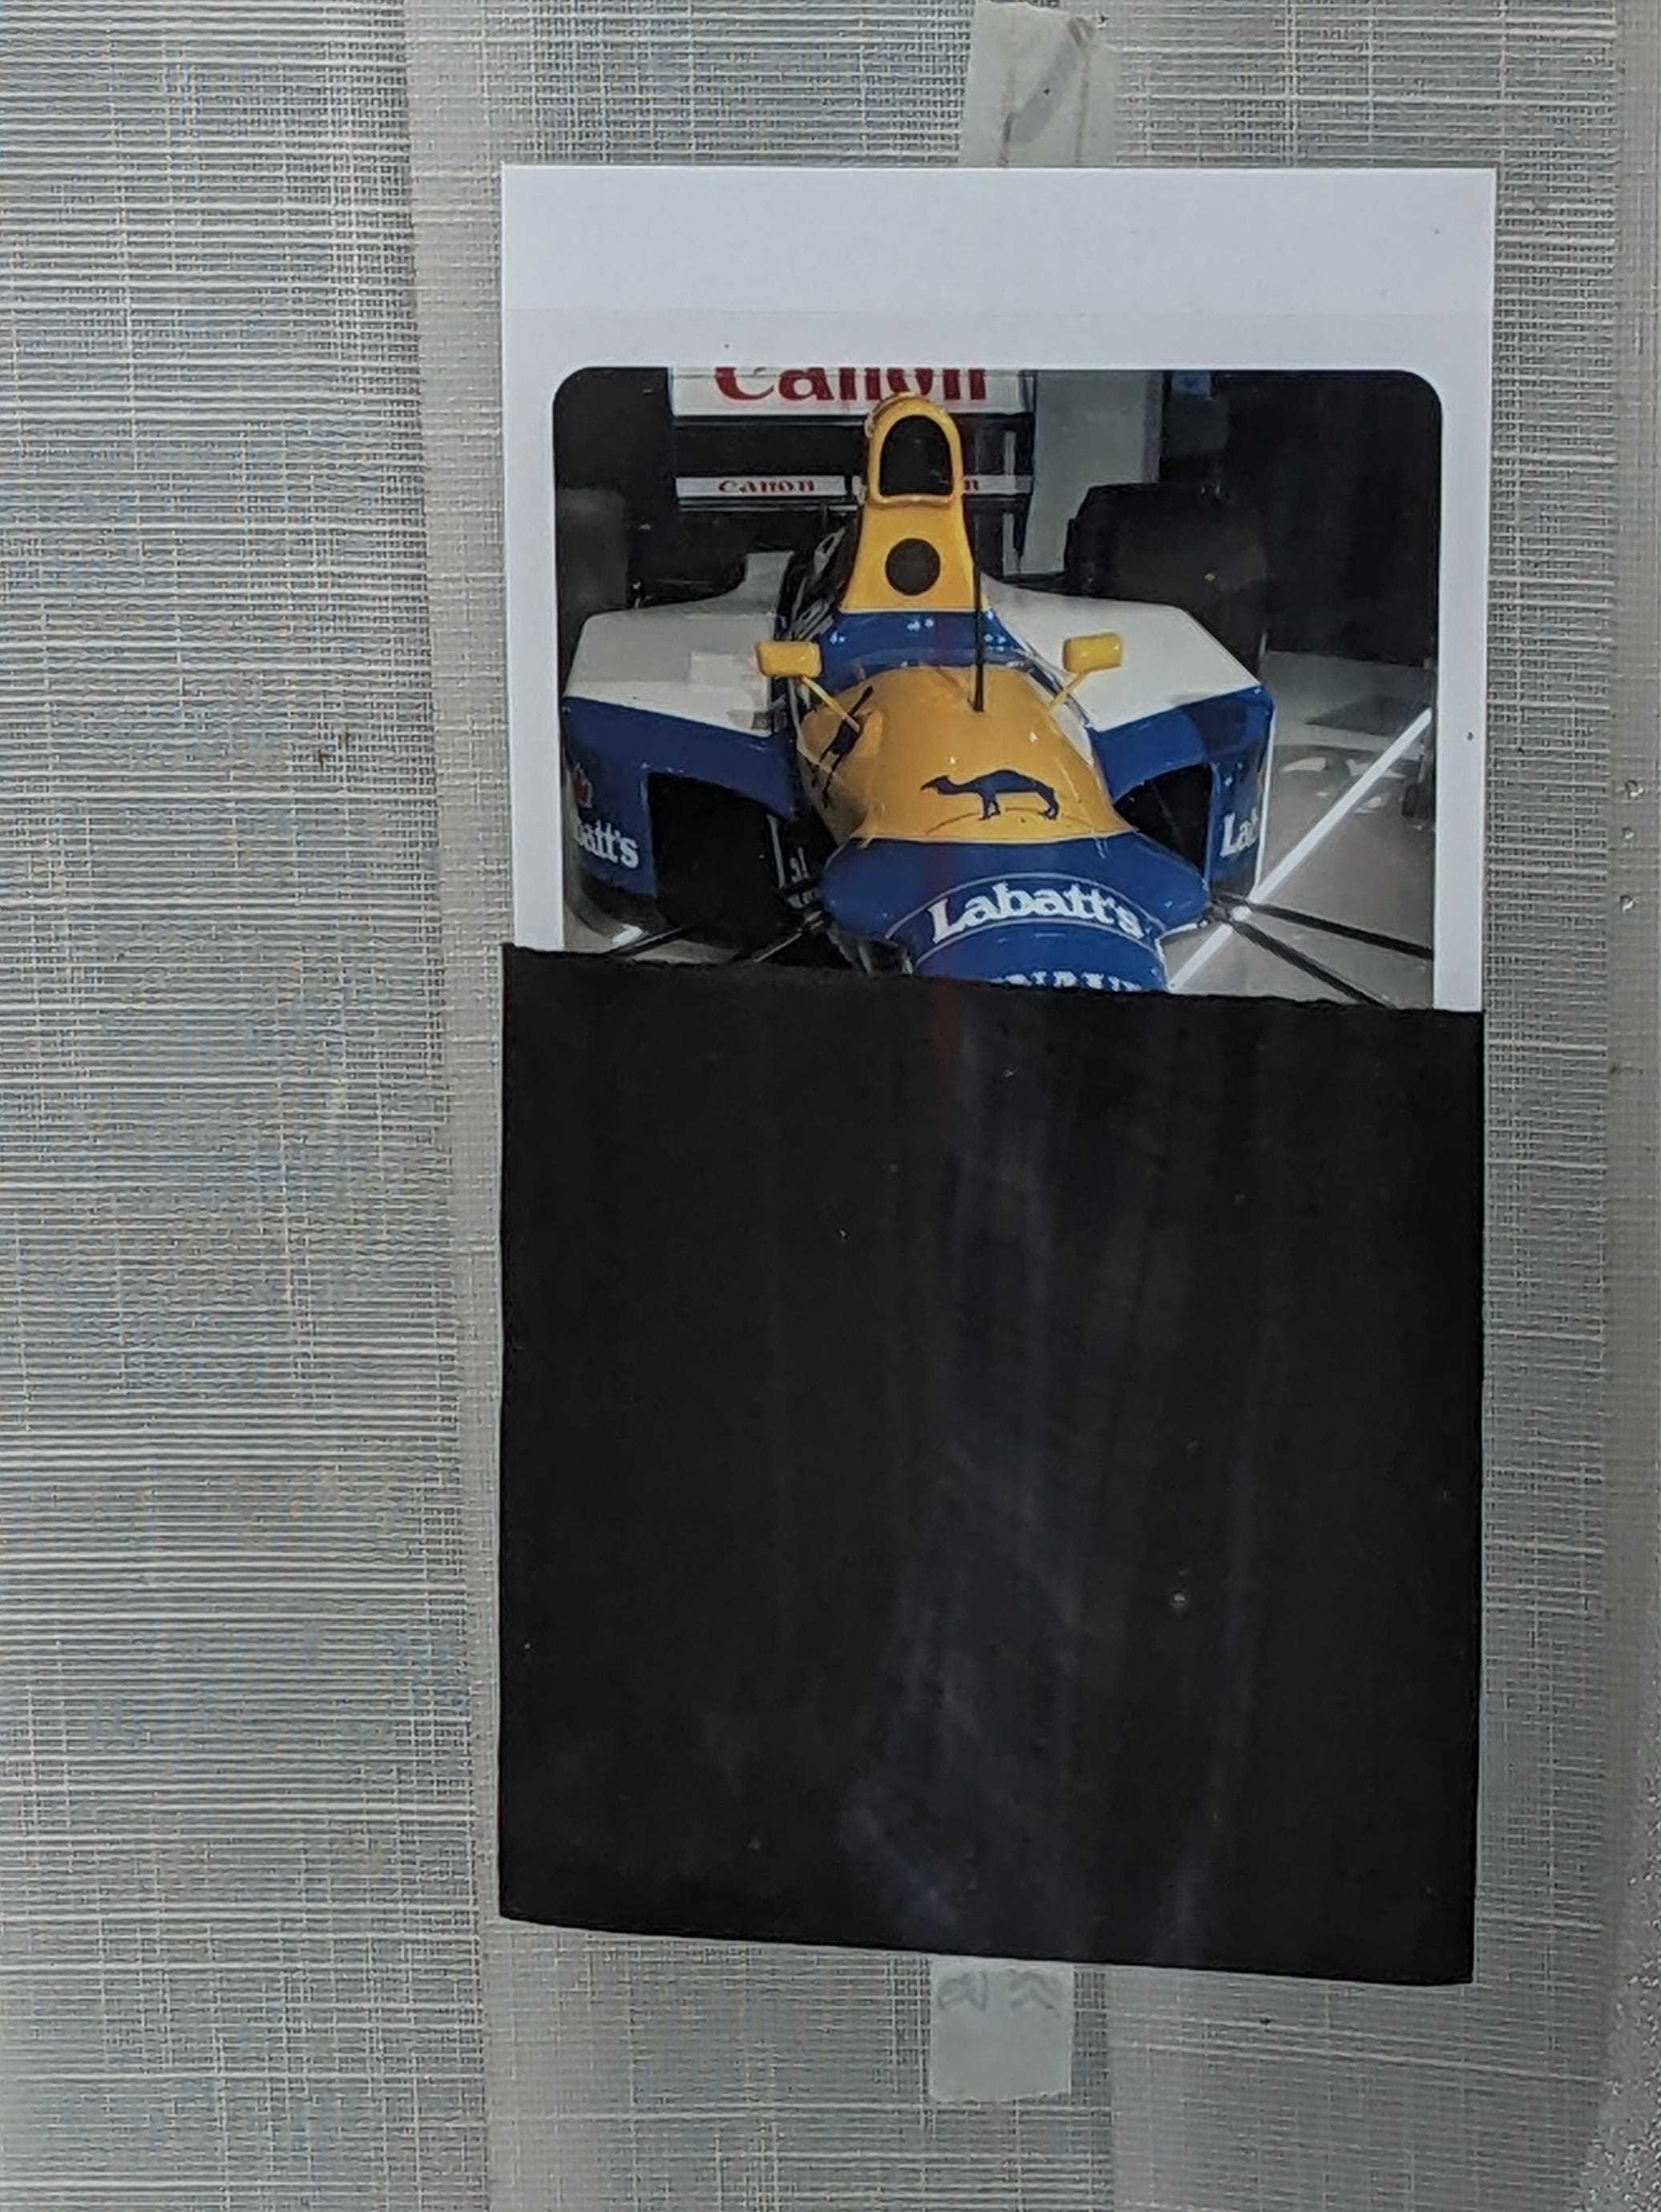
I am running a little test on the print quality of the prints, I have placed one print in a window that gets sun all day. Part is covered with black card to stop the sunlight, hopefully in 6-12 months I will be able to see how much the exposed part has faded.